Art Deco Vanity part 3 - Grand Finale!
- HalfPastFourDesign
- Mar 21, 2020
- 3 min read
Finally we get to paint
Sometimes it seems to take for ev er to get to the fun part, the painting. Time to grab the paintbrush and jar of paint and go to town.
I do not sell any paints or brushes, no companies have given me any free paint or brushes to endorse, and I have tried many, so the information I share here is legit and honest and true.
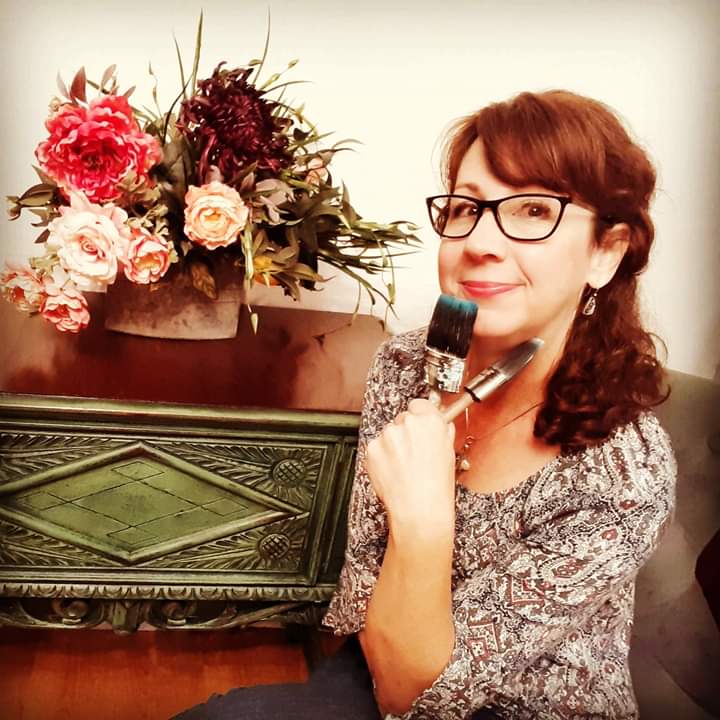
Let's do this
So how do we get to this point? For this finish I chose Fusion Mineral Paint in Coal Black. Fusion Mineral Paint has a bit of a different feel to it than some of the other brands of furniture paint I use. It has a smoother feel and finish and doesn't need a topcoat. I still usually topcoat it just for extra protection and for a smoother finish. One of my favorite topcoats is Wise Owl Varnish in matte. I do mix brands and find they all work together quite well.

My very favorite brand of paint brushes is Cling On and I used their Shorty S30 for these smaller details. Fusion paint dries pretty darn quick so I only had to wait a minute or so before I used a blue shop towel to wipe back the parts where I wanted the wood to show through. If you wait much longer it will be too dry and you will have a hard time getting it wiped off. Fusion paint is not reactivated with water like some of the other brands you may have tried, it has a built in topcoat that hardens it almost immediately.

Don't worry If you wipe back too much, you can always add a little more paint until you get the look you want. Make sure to use a lint free towel or you will end up with little buggers added into your paint finish.
Work in small sections at a time when wiping back. I like to distress only the parts of furniture that would actually get worn naturally. Places that would get bumped or touched more, like the edges and tops of details that stand out. This is where using the clear primer instead of white comes in. When you wipe back you want to see the wood, not white primer.

I also wanted to be able to see the wood showing through in several other places on this vanity without having to wipe the paint back so I added a little water to the paint to make more of a wash. It thinned the paint enough to allow some of that warm wood to peek through. I top coated everything when dry with Wise Owl Varnish in Matte.

Below you can see the 'before' picture of the knobs that were in need of a good cleaning and shining up. I scrubbed them with Bar Keepers Friend and an old toothbrush and polished them with Rub 'n Buff in Antique Gold. In the photo above you can see they shined up quite nicely.

This concludes our journey of refinishing the Art Deco Vanity - thanks for joining me! If you didn't catch the first two parts that show all the prep work be sure to check those out and let me know if you have any questions.
To get future blog posts delivered to your email be sure to sign up on my email list before you leave. I won't sell your info to anyone and I won't spam you, but you may be the first to see new items before they post anywhere else and any special offers I might have.
Please stay healthy and safe out there.
Monica


Comments